A Self-Demonstrating Example
Sample # 0001
K2 Wordcraft, B.V.
Revised: 23 February 2026
Created: 13 August 2025
Document Details
Purpose
In brief, why are you creating this document? What is the process that this SOP outlines, and what are the expected or possible outcomes?
Goals should be SMART (specific, measurable, attainable, realistic, and timely)
Scope
Who is this SOP for? Who are the stakeholders involved in the process? Are there any exceptions to this SOP where another procedure should be followed?
Resources & Related Documents
Document what is required to complete the SOP as-written. This should include specialized tools or software applications. Define any necessary technical jargon, and direct readers to existing knowledge documentation for further understanding of necessary jargon, applications, or tools.
If an exception to the new SOP was defined in Scope, direct readers to the relevant SOP for that exception.
Safety Information
Include and define any relevant safety information for the entire SOP, such as PPE or compliance requirements at all stages of the process. Include a role or title for who should be contacted in the case of a reader requiring additional safety information.
Procedure
- Before creating a new SOP document, investigate whether an SOP already exists. If so, revising may be more appropriate than a new document. If you have determined that a new document is called for, proceed:
- Create an appropriate Title Page including the following items:
- Title of the task or process
- An identification number for your SOP
- Division or branch of the organization applicable to the SOP
- Date of creation
- Date of most recent revision (At time of creation, this will be the date of review.)
- Next, fill out the Document Details to clearly define a high-level overview of the process that will be outlined below. Include the purpose, goals, and scope of the new SOP, and ensure that additional resources, related documents, and safety information are clearly recorded.
- The main thrust of creating a Step-by-step SOP is to detail the Procedure which the reader must follow. Make each step as detailed as necessary for clarity.
- Lists (numerated or otherwise) are not required but are often the best choice for Step-by-step SOPs as they allow the reader to follow along and know when a given step has been completed.
- The particular style may vary, but it is important to use clear language that can be easily understood. Long paragraphs should generally be avoided.
- Depending on the SOP’s intended audience, technical language may be appropriate for specificity, but in such cases the jargon should be defined so that a reader with less familiarity can easily follow along.
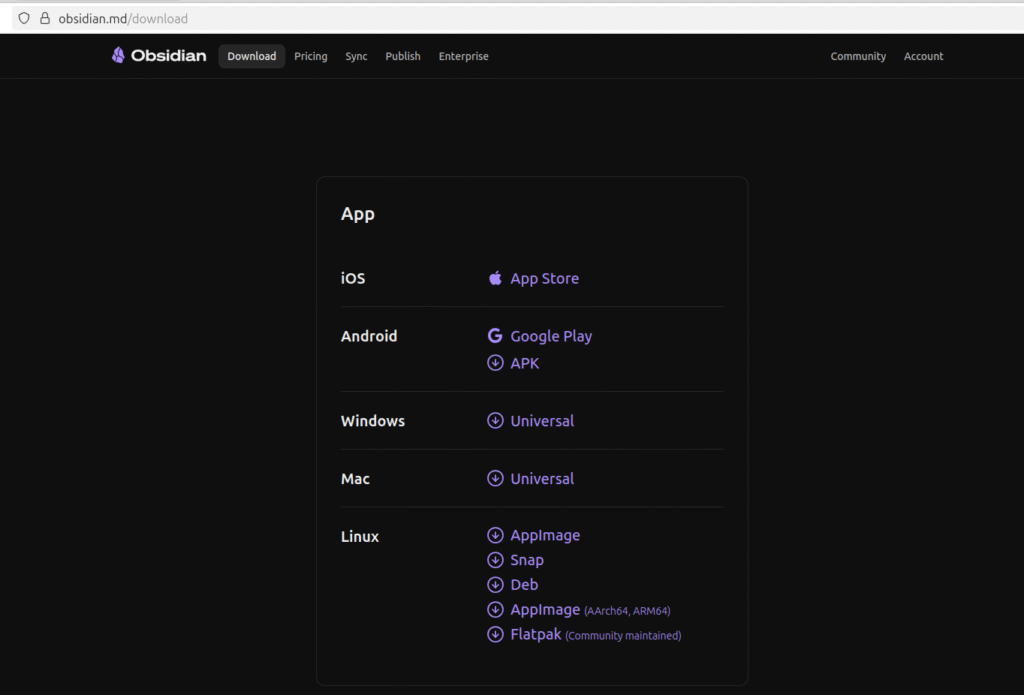
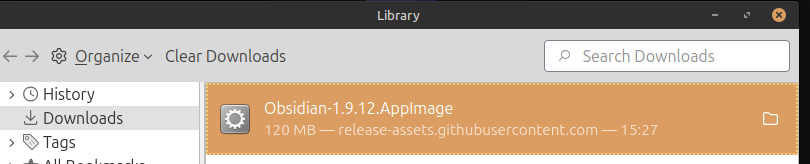
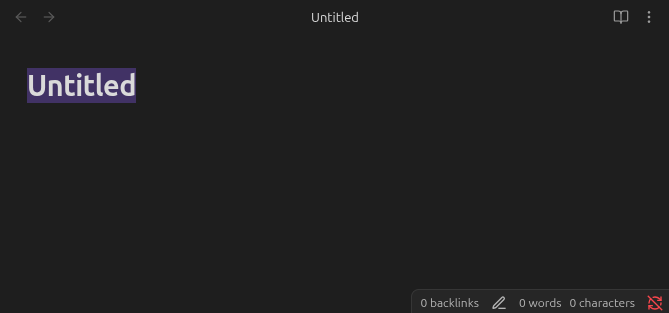
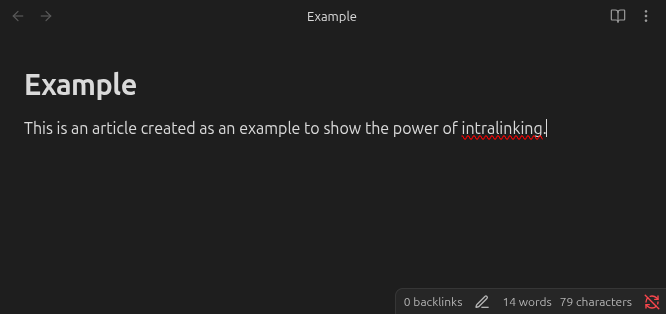
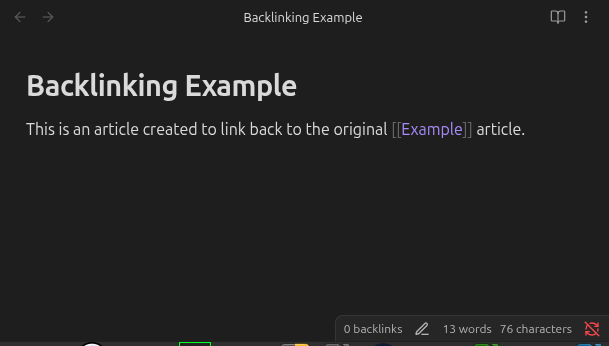
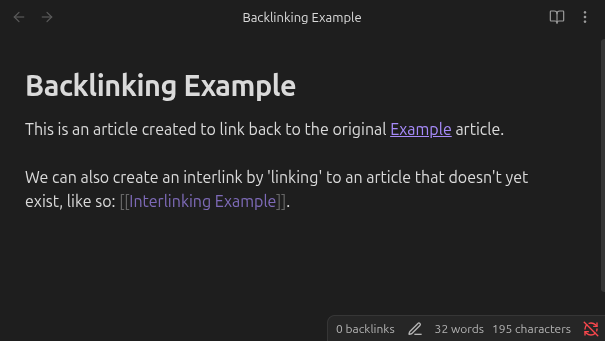
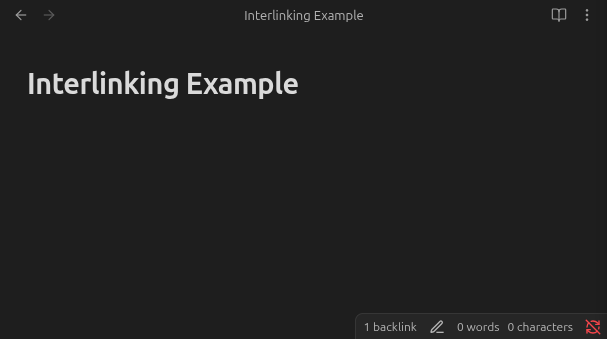
- If possible, include diagrams, screenshots, and/or annotations to remove ambiguity from each step of the process.
- Ensure you specify the expected types and formats of outcomes that should result from following the correct procedure. Include an example of a correct output, and guidance on common mistakes and errors that may lead to incorrect outputs.
- Create the initial Revision History section, including the version number, the date of creation, and the name of the SOP’s creator.
- Finally, submit the SOP for quality check and approval. Make any requested or required edits, updating the version number as required and resubmitting as often as required.
- Once approval is received, update the Revision History section to include the date of revision, and the names and/or signatures of approving stakeholders.
Revision History
Current Version: 1.1
1.1 – Revised: 23 February 2026
Revised by: Kyle Fernandez
1.0 – Created: 13 August 2025
Created by: Kyle Fernandez