This is a brief tutorial on creating a wiki-style article using Obsidian, a software for taking notes and compiling a personal knowledge base, like a self-hosted wiki. Installation instructions are included.
The use of this brand name and any mention of specific products or media within the example does not imply ownership of nor endorsement by the owners of any products or media, nor discrimination against similar products or media not mentioned.
I am merely a user of the free personal version of Obsidian for my own purposes.
—
Wiki-style articles are extremely familiar to most readers, from the ubiquitous Wikipedia.org to the accumulated media knowledge aggregated on Fandom.com and similar sites. Creating knowledge base articles in such a style can greatly increase retention, even if you don’t intend to make your knowledge base publicly-editable like a true wiki.
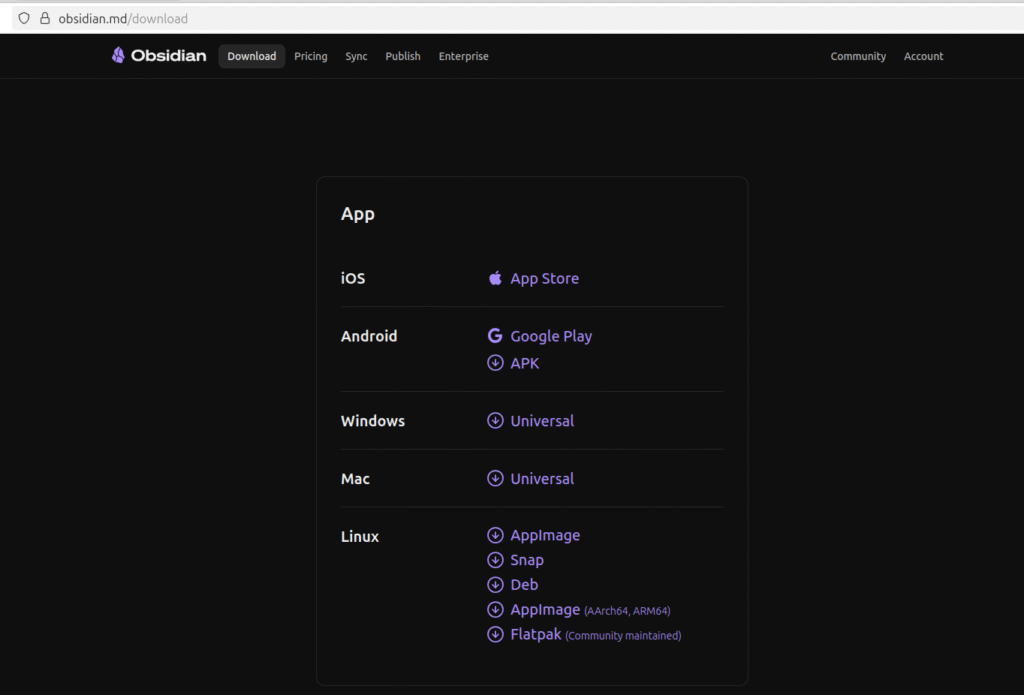
The first step is, naturally, to install your software, either on your computer or website. In this case, you’ll want to visit the Obsidian downloads page. The correct version should be automatically detected, but installer files for other platforms are available, including:
- Windows
- Macintosh
- Linux
- iOS
- Android
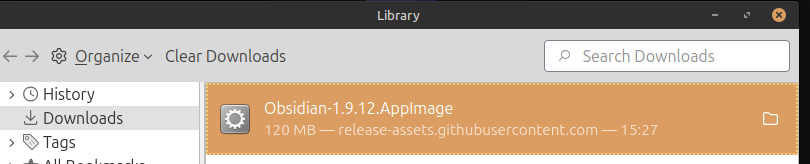
After selecting the correct file for download, visit your download location and double-click to run the installer.
Post-installation, you will be prompted to create or open a ‘vault’, Obsidian’s term for a collection of articles.

Choose a name and select where the Vault folder should be stored, then click Create. Once the Vault has opened, click the New Note button.
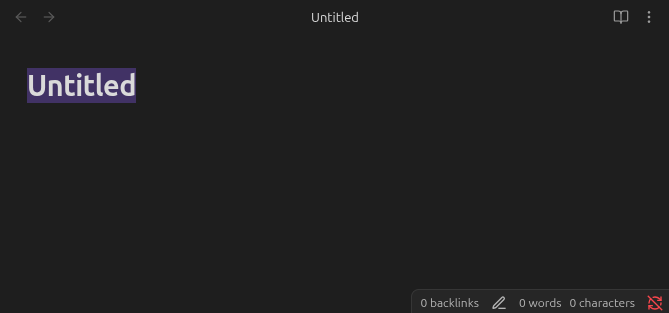
Give your new Note a title — this title will be used to link back to this Note later, so try to make it both short and descriptive of the note’s contents.
Now that you’ve created an article, there are two ways to proceed. You can either:
- Click the New Note button again, or
- Turn a word or phrase in the current Note into a link to a new Note.
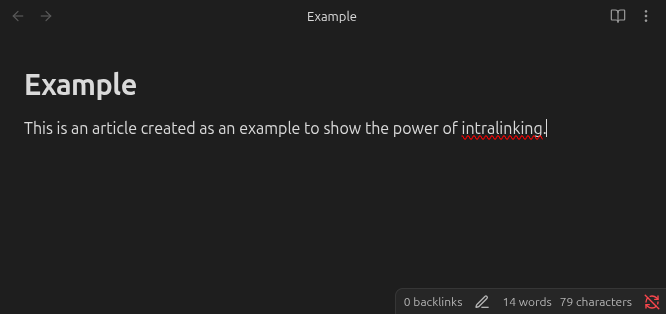
Example 1: If you create a new Note, you can enclose the name of an existing Note in double square brackets [[like so]] to create a link back to that Note:
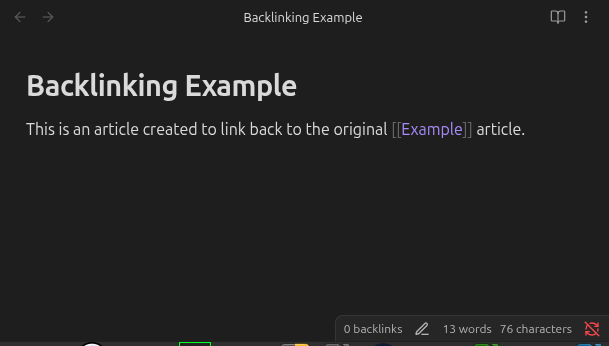
Example 2: To create a backlink instead, simply enclose the title of the prospective new Note in the same double square brackets [[like so]]:
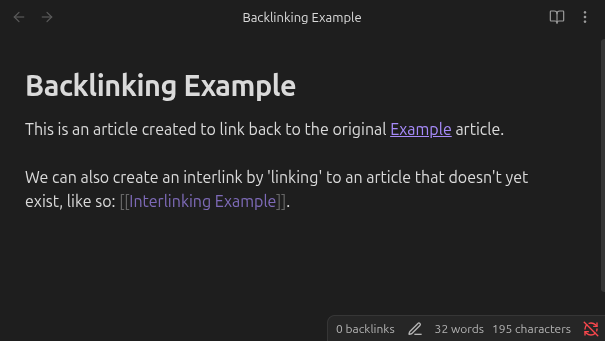
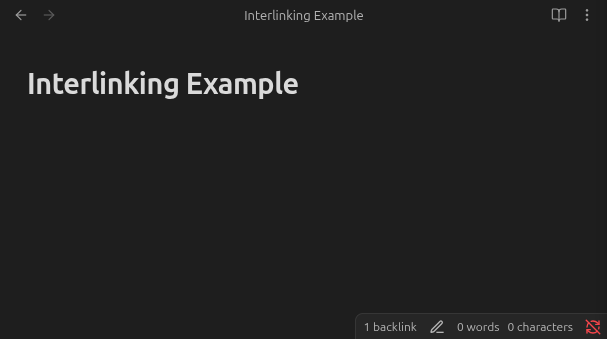
This link will appear ‘greyed out’ until the Note is created, which can be done by simply clicking on the new link. The new Note will automatically have the chosen title.
Keep in mind that changing the title of a Note will also change the links in all other Notes that link back to it.
By continuing to use both article creation methods, you will soon find that you have created a knowledge base in which a reader can easily navigate between related pages and gain more information on your products or services.